GRIMM BUILDING MATERIALS
SUPERIOR SERVICE & QUALITY SINCE 1879
Welcome to Grimm Building Materials - the premiere provider of
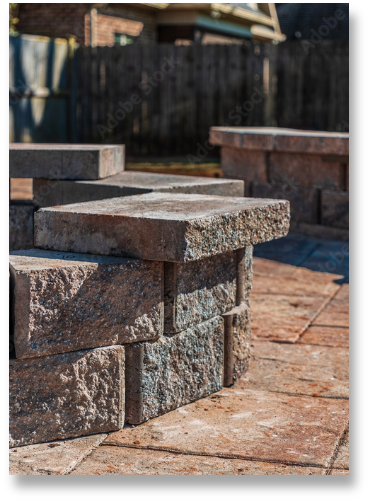
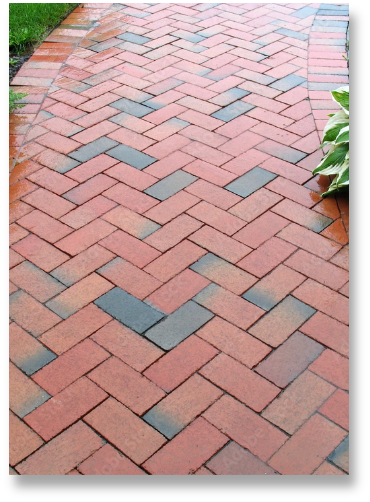
masonry,
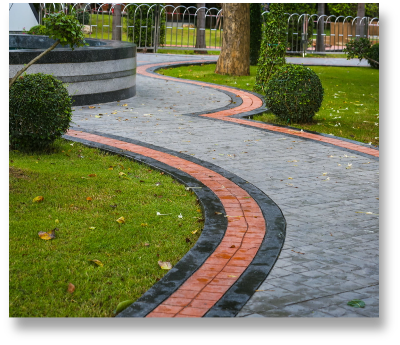
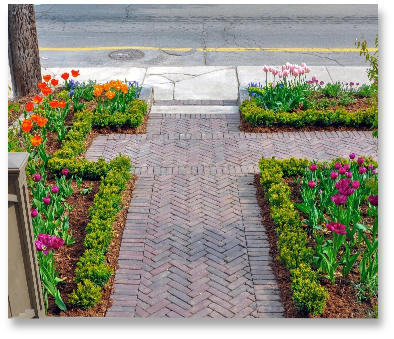
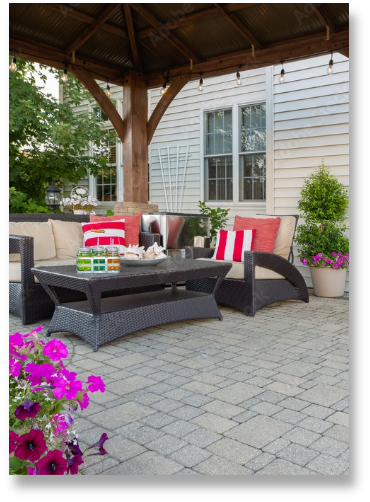
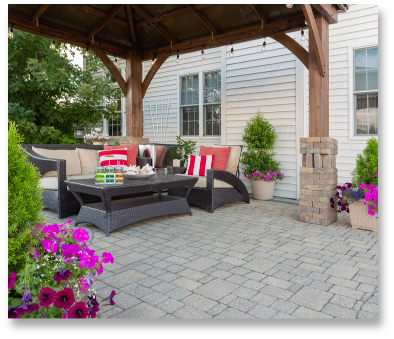
landscaping, and
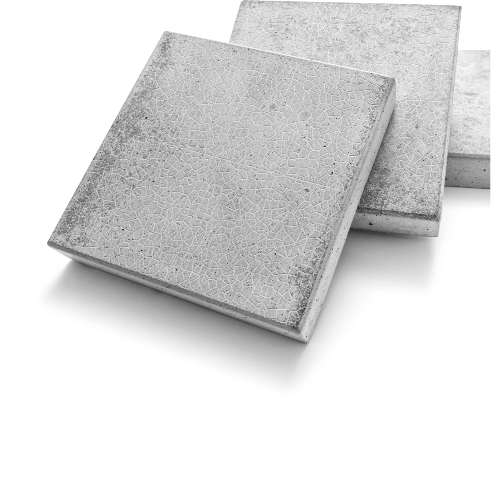
precast products for the
Green Island, Troy, Albany, Cohoes, Saratoga Springs, NY areas and beyond! Founded in 1879, our years of industry experience and flexibility, coupled with our large variety of inventory from trusted brands, makes us your one stop shop for both residential and commercial building projects! Let our friendly and knowledgeable staff help you compare products and prices, create a comprehensive design, and so much more! Explore our inventory online or stop by our showroom at
96 Albany Ave. Green Island Troy, NY 12181, and find the perfect building blocks for your next project!
Welcome to Grimm Building Materials — the premiere provider of
masonry,
landscaping, and
precast products for the
Green Island, Troy, Albany, Cohoes, Saratoga Springs, NY areas and beyond! Founded in 1879, this family owned and operated business continually strives to offer superior service and materials at competitive prices. Our years of industry experience and flexibility, coupled with our large variety of inventory from trusted brands, makes us your one stop shop for both residential and commercial building projects! Need more than just materials? Our friendly and knowledgeable staff are here to help you with comparing products and prices, comprehensive design, and so much more! Explore our inventory online or stop by our showroom at
96 Albany Ave, Green Island Troy, NY 12181, and find the perfect building blocks for your next project!